Troubleshooting FR4 PCBs involves a systematic process starting with a thorough visual inspection for physical defects like burns, cracks, or poor solder joints, followed by electrical tests using a multimeter to check for shorts, opens, and correct voltage levels. This methodical approach ensures efficient identification and resolution of common problems ranging from manufacturing flaws to component failures, saving valuable time and resources. FR4, a flame-retardant glass-epoxy laminate, is the workhorse of the electronics industry, but it’s not immune to issues. Whether you’re a seasoned engineer, a technician on the line, or an electronics hobbyist, encountering a faulty Printed Circuit Board (PCB) is inevitable. This comprehensive guide provides a structured workflow, detailed problem analysis, and actionable solutions to help you diagnose and fix the most common FR4 PCB issues with confidence and precision.
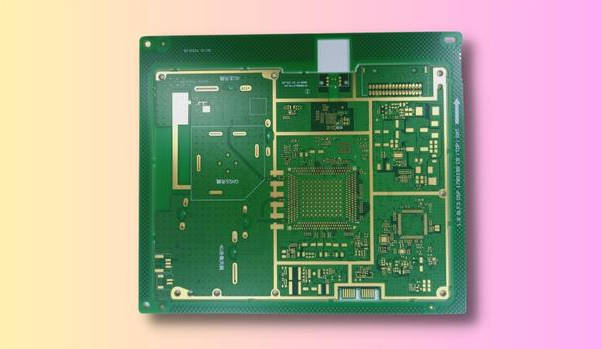
Table of Contents
- Understanding FR4: Why Its Properties Matter in Troubleshooting
- A Systematic Approach: Your PCB Troubleshooting Workflow
- Common FR4 PCB Issues: Identification and Solutions
- Essential Tools for Effective PCB Troubleshooting
- Preventative Measures: How to Minimize FR4 PCB Failures
- Frequently Asked Questions (FAQ)
- Conclusion: Mastering the Art of PCB Repair
Understanding FR4: Why Its Properties Matter in Troubleshooting
Before diving into troubleshooting, it’s crucial to understand the material you’re working with. FR4 is not just a passive substrate; its physical and electrical properties directly influence the types of failures that can occur. FR4 is a composite material made of woven fiberglass cloth with an epoxy resin binder. Key properties like the Glass Transition Temperature (Tg)—the temperature at which the material shifts from a rigid to a more pliable state—are critical. Exceeding the Tg (typically 130-180°C for standard FR4) during assembly or operation can lead to delamination, where layers of the board separate, or other forms of mechanical stress that can break traces and vias.
Furthermore, FR4’s dielectric constant and moisture absorption characteristics can affect high-frequency signal integrity and susceptibility to short circuits in humid environments. Understanding these limitations helps you form hypotheses about a failure’s root cause. For instance, if a board that operates in a hot environment fails, you might suspect thermal stress has caused a micro-crack in a solder joint or a via, a problem you might not immediately consider in a cooler setting. This foundational knowledge transforms troubleshooting from guesswork into a science of deduction.
A Systematic Approach: Your PCB Troubleshooting Workflow
Randomly probing a circuit board is an inefficient and often destructive way to find a fault. A structured workflow is paramount. By moving from the simplest, most obvious checks to more complex and specific tests, you can isolate problems logically and avoid causing further damage. This workflow can be broken down into three primary stages.
Step 1: The Power of Visual Inspection
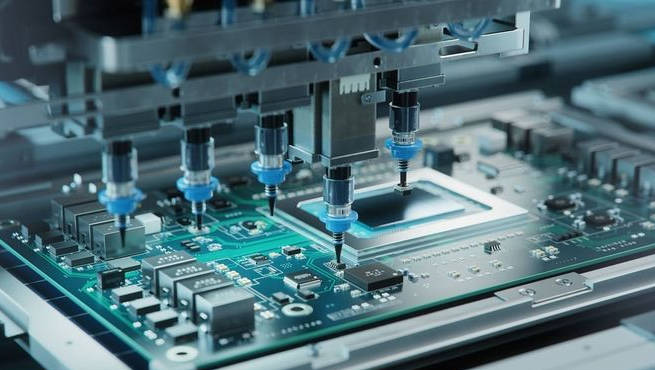
Never underestimate what your eyes can tell you. A meticulous visual inspection should always be your first diagnostic step. Use a good light source and magnification, such as a jeweler’s loupe or a digital microscope, to scrutinize the entire board. Look for obvious signs of distress first. Are there any burnt components, discolored areas on the PCB (indicating overheating), or physically cracked parts? Check for solder bridges—tiny, unwanted connections of solder between adjacent pins or pads—which are a common cause of short circuits.
Examine the quality of all solder joints. They should be shiny and concave (forming a smooth fillet), not dull, balled-up, or cracked. A cold solder joint often appears frosty and rough and can create an intermittent or open circuit. Also, inspect for board-level physical damage like cracks in the FR4 substrate, lifted pads or traces, and signs of delamination (blistering or swelling). Document any and all anomalies you find, as they provide critical clues for the next stage of testing.
Step 2: Basic Electrical Testing (The First Line of Defense)
Once you’ve completed the visual inspection, it’s time to bring out the multimeter. This is where you confirm the suspicions raised during your visual check and uncover hidden electrical faults. Before powering up the board, perform “cold” checks.
- Continuity Test: Use the continuity setting (which usually beeps) to check for short circuits between power and ground rails. A continuous beep indicates a direct short. You can also use this mode to verify that connections and traces are intact (i.e., not an open circuit).
- Resistance Measurement: Measure the resistance between various points. Checking the resistance across power rails can give you a baseline; an unusually low reading (a few ohms or less) confirms a short circuit, while an infinite reading (OL) on a trace indicates an open circuit.
If the board passes these initial checks, you can proceed with a “hot” test by applying power. Carefully measure the voltage levels at key points, such as the output of voltage regulators, power pins on integrated circuits (ICs), and test points. Are they within the expected tolerance specified in the datasheet or schematic? An incorrect or fluctuating voltage can point you directly to a faulty power supply section or a component that is drawing excessive current.
Step 3: Advanced Diagnostic Techniques
When basic tools don’t reveal the culprit, more advanced equipment is necessary. An oscilloscope is indispensable for analyzing signal integrity, checking clock signals, and observing the behavior of digital communication lines (like I2C or SPI). If a signal is distorted, has the wrong frequency, or is absent entirely, you can trace it back to its source. For thermal issues, a thermal imaging camera is a powerful tool. It can instantly reveal components that are overheating due to internal failure or excessive current draw, often highlighting a short circuit’s location much faster than manual probing.
In more complex cases, a Logic Analyzer can be used to monitor many digital signals at once, helping to debug issues in microprocessors or FPGAs. For intermittent faults, which are notoriously difficult to find, you may need to use techniques like freeze spray (to cool components and see if the fault appears/disappears) or a hot air gun (to gently heat components) to replicate the failure conditions on your workbench.
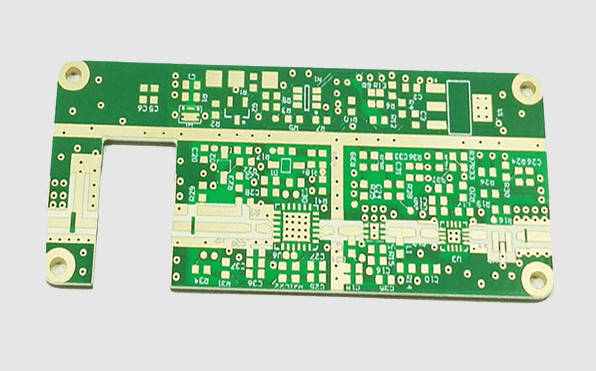
Common FR4 PCB Issues: Identification and Solutions
PCB failures can be categorized by when they occur: during fabrication, during assembly, or during operation. Understanding these categories helps narrow down the potential causes.
Category 1: Manufacturing & Fabrication Defects
These are flaws introduced when the bare board is created. While less common with reputable manufacturers, they can be a headache to diagnose. Poor etching can result in over-etched traces (traces that are too thin, increasing resistance and risk of breaking) or under-etched copper (leaving behind unwanted copper that can cause shorts). Another critical issue is faulty via plating. A crack or void in the copper plating of a plated-through-hole (PTH) or via creates an open circuit, which can be extremely difficult to find without specialized equipment like an X-ray machine. Finally, solder mask misalignment can expose copper that shouldn’t be, leading to solder bridges during assembly, or cover pads that should be open, preventing a good solder connection.
Category 2: Assembly & Soldering Faults
Assembly is the most common stage for defects to be introduced. These are almost always related to soldering. We’ve already mentioned solder bridges and cold solder joints. Another prevalent issue is component shift, where a component moves out of place on its pads before the solder solidifies, potentially causing an open circuit or a short. Tombstoning is an extreme version of this, where a small passive component (like a resistor or capacitor) is pulled into a vertical position, resembling a tombstone. This is often caused by uneven heating during reflow soldering. Insufficient or excessive solder paste can also lead to problems, from weak joints that fail over time to shorts caused by solder balls.
Category 3: In-Field & Operational Failures
These failures occur after the board has been deployed and can be caused by environmental factors, electrical stress, or component end-of-life. Component failure is a primary cause; capacitors can dry out, ICs can fail due to Electrostatic Discharge (ESD) or Electrical Overstress (EOS), and connectors can wear out. A burnt trace is a clear sign of an EOS event where a trace acted like a fuse due to excessive current. This requires not just repairing the trace but also finding the root cause of the overcurrent. Finally, thermal stress from repeated heating and cooling cycles can cause solder joints, especially on larger components like BGAs, to develop micro-cracks and fail over time, leading to frustratingly intermittent faults.
| Issue Type | Problem | Common Causes | Troubleshooting & Solution |
|---|---|---|---|
| Manufacturing | Open Circuit (Broken Trace/Via) | Over-etching, poor via plating, mechanical stress. | Use a multimeter to confirm the open. Repair by carefully soldering a thin jumper wire across the break. |
| Assembly | Short Circuit (Solder Bridge) | Excessive solder, fine-pitch components, misaligned stencil. | Visually inspect with magnification. Remove the bridge using a soldering iron and solder wick (desoldering braid). |
| Assembly | Cold Solder Joint | Insufficient heat, oxidized pad/lead, improper soldering technique. | Visually identify dull/cracked joint. Re-flow the joint by applying flux and fresh solder with a hot iron. |
| Operational | Component Failure | EOS, ESD, thermal stress, component aging. | Identify with thermal camera or by testing inputs/outputs. Carefully desolder and replace the faulty component. |
| Operational | Delamination | Exceeding Tg, moisture in the board, manufacturing defect. | Visually identify blisters/swelling. Usually not repairable; requires board replacement. Focus on prevention. |
Essential Tools for Effective PCB Troubleshooting
Having the right tools is half the battle. While a basic toolkit is a great start, a well-equipped bench will allow you to tackle a much wider range of problems efficiently. Your essential toolkit should include:
- Multimeter: For measuring voltage, current, resistance, and continuity. This is your primary diagnostic tool.
- Soldering Iron: A quality, temperature-controlled soldering station is a must-have for repairing joints and replacing components.
- Magnification: A digital microscope or at least a magnifying lamp is crucial for inspecting fine-pitch components and tiny solder joints.
- Desoldering Tools: Solder wick and a solder sucker (solder pump) are necessary for cleanly removing components and excess solder.
- Power Supply: A variable, current-limited bench power supply is safer for testing than a fixed supply, as you can limit the current to prevent further damage if a short exists.
- Advanced Tools: For more serious work, an oscilloscope, thermal camera, and logic analyzer will elevate your diagnostic capabilities significantly.
Preventative Measures: How to Minimize FR4 PCB Failures
The best way to troubleshoot a problem is to prevent it from happening in the first place. Adhering to Design for Manufacturability (DFM) principles during the design phase can eliminate many common assembly issues. This includes using appropriate pad sizes, ensuring sufficient clearance between traces, and adding test points for critical signals. Proper component selection is also key; choose components with appropriate voltage and temperature ratings for your application. During handling and assembly, always use proper Electrostatic Discharge (ESD) protection, such as wrist straps and anti-static mats, to prevent latent damage to sensitive ICs. Finally, ensuring boards are stored in a low-humidity environment can prevent moisture absorption, which can lead to delamination during soldering.
Frequently Asked Questions (FAQ)
What is the most common cause of PCB failure?
The most common cause is often component failure due to electrical or thermal stress over time. However, during production and initial testing, soldering-related issues like solder bridges and cold joints are the most frequent culprits.
How can I fix a burnt trace on an FR4 board?
First, carefully scrape away the burnt FR4 material and clean the area with isopropyl alcohol. If the trace is lifted, you can try to glue it back down with epoxy. For a broken trace, the standard repair is to solder a small piece of solid-core “jumper” wire across the gap, effectively bypassing the damaged section.
What does a cold solder joint look like and how do I fix it?
A cold solder joint looks dull, grey, and grainy or lumpy, rather than smooth and shiny. It creates a poor, unreliable electrical connection. To fix it, apply a small amount of flux to the joint and reflow it with a hot soldering iron, adding a tiny bit of fresh solder to ensure a proper bond.
Conclusion: Mastering the Art of PCB Repair
Troubleshooting FR4 PCBs is a skill that blends technical knowledge with a detective’s methodical approach. By starting with a careful visual inspection, moving to logical electrical tests, and understanding the common failure modes associated with manufacturing, assembly, and operation, you can effectively diagnose nearly any issue. Remember that every failed board is a learning opportunity. With patience, the right tools, and a systematic workflow, you can move from frustration to fix, extending the life of your electronic devices and deepening your expertise in the process.
Troubleshooting FR4 PCBs, PCB issues, circuit board problems, common PCB failures, FR4 defects, PCB repair, how to fix a short circuit on a PCB, common FR4 manufacturing defects, troubleshooting solder joint failures, what causes PCB shorts, identify faulty component on PCB, fixing burnt PCB trace