With the rapid development of electronic technology, PCB copying has become a common technical means to help companies quickly realize reverse engineering of electronic products, thereby optimizing design or meeting production needs. Next, we will introduce the specific process and key links of PCB copying in detail to help you better understand this process.
1. Get the original sampleThe first step of PCB copying is to obtain a complete circuit board sample. Ensuring that the sample is intact is crucial for subsequent scanning and reverse design.
2. Sample disassembly and scanningDisassemble all electronic components on the sample one by one, and record the specific model and parameters of each component. Subsequently, perform a high-resolution scan of the bare board to generate high-definition image files on the front and back.
3. Schematic diagram extractionThrough the method of reverse analysis, the circuit connection relationship of the sample is drawn as a schematic diagram. This step requires engineers to be proficient in the working principles of electronic components and the specifications of circuit design.
4. PCB design and wiringBased on the extracted schematic, use professional EDA software (such as Altium Designer) to redraw the PCB layout and wiring diagram. In this process, special attention should be paid to wiring rules and electromagnetic compatibility (EMC) design.
5. Generate process filesAfter confirming that the PCB design is correct, generate process files for manufacturing (such as Gerber files), and check the integrity of the files to ensure that they include information such as drilling diagrams, solder mask layers, and silk screen layers.
6. Board selection and processingAccording to the function and working environment of the PCB, select suitable boards (such as FR4, CEM-3, etc.), and submit the process files to the PCB manufacturer for proofing production.
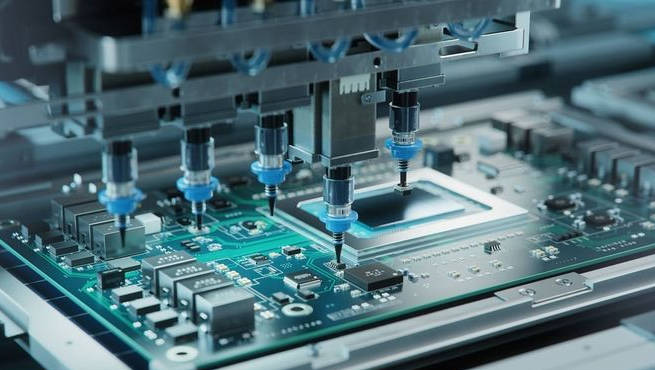
7. Component welding and debuggingAfter the proofing is completed, the disassembled components are re-welded back to the PCB, and functional testing and debugging are performed to ensure that the performance of the restored circuit board is consistent with the original board.
Key links in PCB copying
1. Design specificationsIn the schematic and PCB design stages, strict compliance with design specifications is the basis for ensuring the performance and reliability of the circuit board. For example, the wiring of power and signal lines should avoid crossing or looping, and the ground wire of important signals should be grounded at a single point.
2. Process controlDuring the production process, control process parameters such as drilling size, line width and spacing to avoid electrical performance problems caused by processing errors.
3. Component selectionDuring the disassembly and debugging stage, ensure that the component model, specifications and parameters are consistent with the original board. If some components in the original board are discontinued or unavailable, alternatives with the same function can be selected, but their performance needs to be verified.
4. Electromagnetic compatibility designDuring wiring and layout, pay special attention to electromagnetic interference (EMI) and signal integrity (SI) issues to ensure that the copied circuit board can pass the relevant test certification.